


Facial Cleansing at Home. A Complete Ritual for Healthy Skin
Doing a facial cleansing at home is crucial to eliminate the impurities that accumulate on your skin throughout the day. This not only helps keep your skin clean, but also prevents acne breakouts, removes blackheads, and improves your skin’s overall health.
Often, skin looks dull and congested due to the buildup of dirt, makeup, or pollution. Without proper cleansing, pores become clogged. This can lead to breakouts or dryness.
How to Do a Facial Cleansing at Home: Step by Step
Taking care of your skin doesn’t always require a spa visit. With the right products and a little time, you can achieve a truly deep cleansing facial at home. This ritual helps keep your skin healthy and glowing. But it’s also a way to reconnect with yourself and relax.
Below, we’ll share the step-by-step process so your skin feels fresh, renewed, and ready to face the day (or rest better at night).
Step 1: Cleanse with a Gentle Makeup Remover
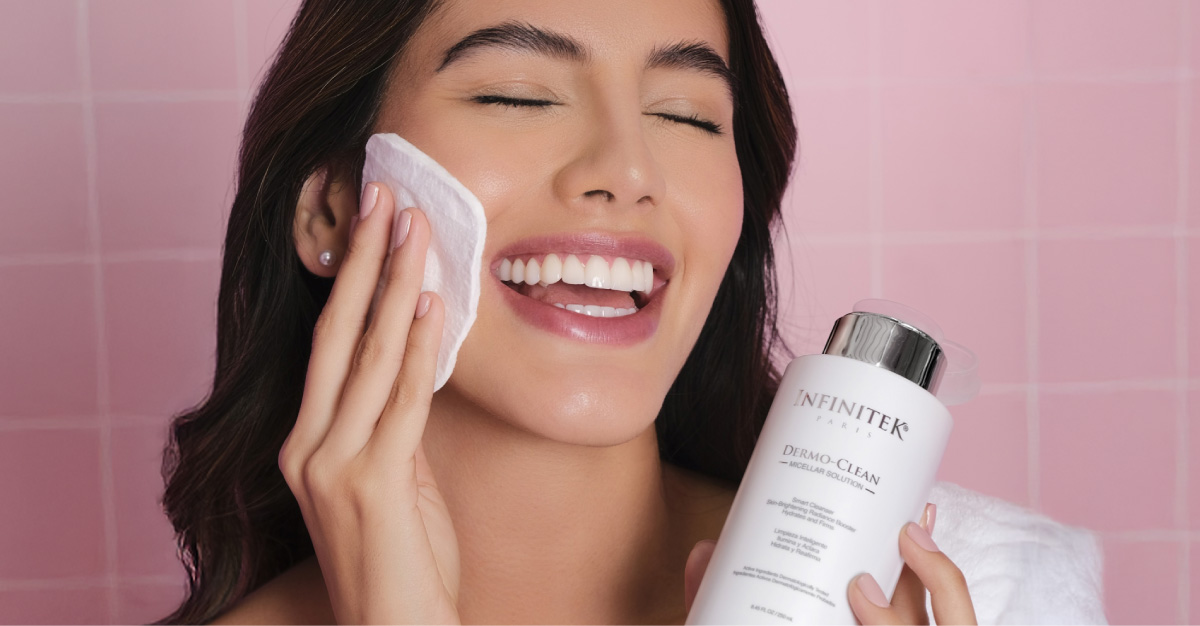
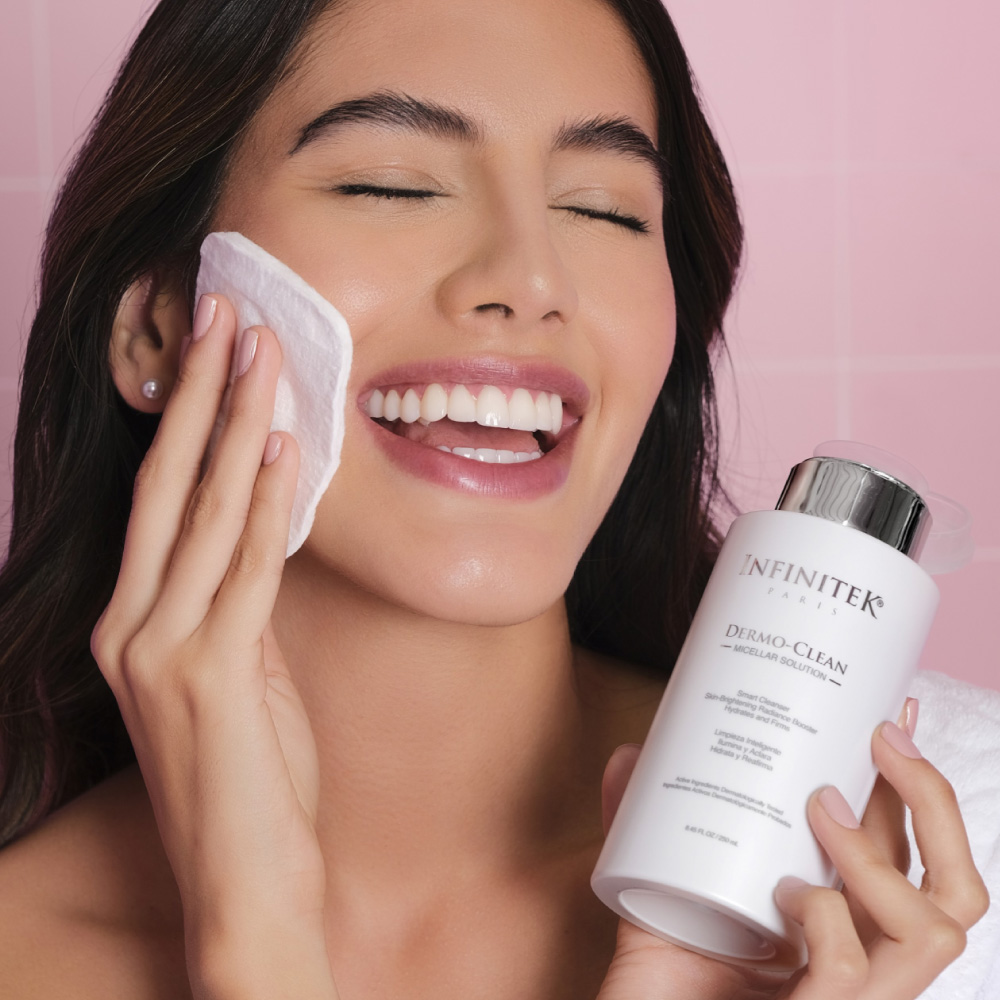
The first step is to remove makeup and surface impurities. A gentle makeup remover is key to avoid irritating the skin, especially if you have sensitive or dry
skin.
Micellar products are ideal – they act like magnets for impurities, removing makeup, oil, and dust effectively without drying out your skin.
Do you wear waterproof or long-lasting makeup? Choose a biphasic makeup remover, which combines oily and hydrating components to remove these products effectively without dryness.
Apply the makeup remover using a cotton pad or reusable pad, gently massaging in circular motions. Start with the eyes, then the lips, and finish with the rest of the face. Take your time. A careful cleanse at this stage makes a big difference in your overall skincare ritual.
Step 2: Wash with a Cleanser Suitable for Your Skin Type
After removing makeup, it’s essential to do a second cleanse with a facial cleanser suited to your skin type. If you have oily skin, choose a product that regulates sebum production. For dry skin, go for a creamy, hydrating formula.
Use your fingertips to apply the cleanser in gentle circular motions. This stimulates circulation and ensures a thorough cleanse. Cold water is a great option to close the pores afterward.
Step 3: Exfoliate During Your Facial Cleansing Routine
Exfoliation is a key step in any skincare routine, as it removes dead skin cells that accumulate on the surface. This is especially useful if you have blackheads
or oily skin, as exfoliation helps unclog pores.
Chemical exfoliants like those containing salicylic acid are perfect for acne – they penetrate deep into the pores and eliminate trapped impurities. After exfoliating, apply a toner to balance the skin’s pH. It also helps prep the skin for the next steps, calm any irritation, and remove any remaining residue.
Avoid exfoliating more than 2–3 times per week, as this can cause irritation or worsen dry skin. You might feel like exfoliating isn’t enough – but over time, you’ll see the results.
Step 4: Apply a Steam Bath
This step helps open the pores to remove deeper impurities. You can do this with a steam bath to relax the skin and prepare it for blackhead extraction. Boil water and pour it into a bowl.
Cover your head with a towel and place your face over the bowl at a safe distance to avoid burns. Let the steam work for 5 – 10 minutes until your pores open.
Step 5: Blackhead Extraction
Once your pores are open, it’s time to extract blackheads. Use your fingertips with latex gloves or a clean tool to avoid infection. Apply light pressure around the blackhead—never squeeze too hard or force it.
Avoid touching or extracting inflamed pimples or pus-filled spots, as this can worsen the condition, cause infection, or leave permanent scars. Facial cleansing at home should always be gentle and focused on improving your skin – not harming it.
If you have many blackheads, severe acne, or doubts about proper extraction, it’s best to visit a dermatologist or professional center for a safe, thorough cleanse.
Step 6: Apply a Mask After Cleansing

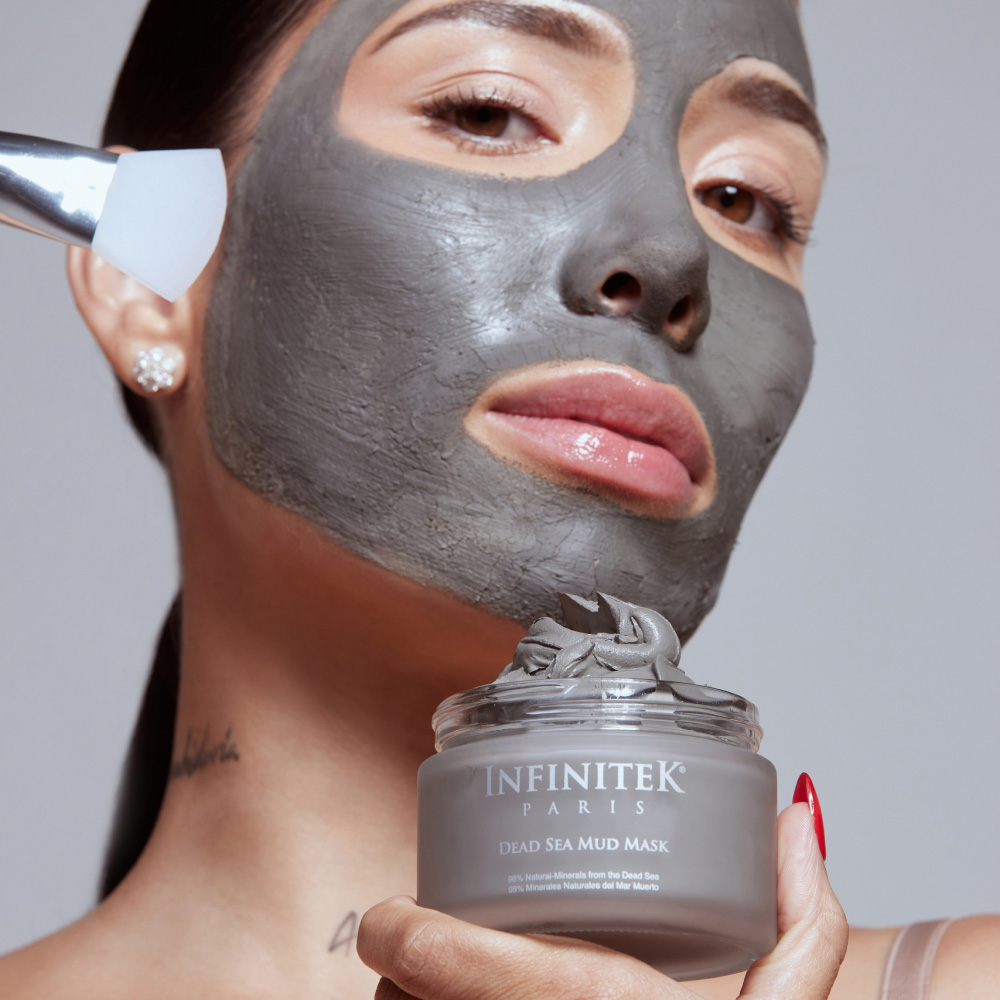
After extraction, your skin may appear red. To calm it down, apply a soothing or hydrating mask. Clay masks are ideal for oily skin or enlarged pores, as they absorb excess oil and purify the skin. For dry skin, opt for formulas with jojoba oil or aloe vera to hydrate and restore the skin barrier.
A great option is the Dead Sea Mud Mask by Infinitek Paris. It not only soothes the skin but also improves texture and minimizes the appearance of pores.
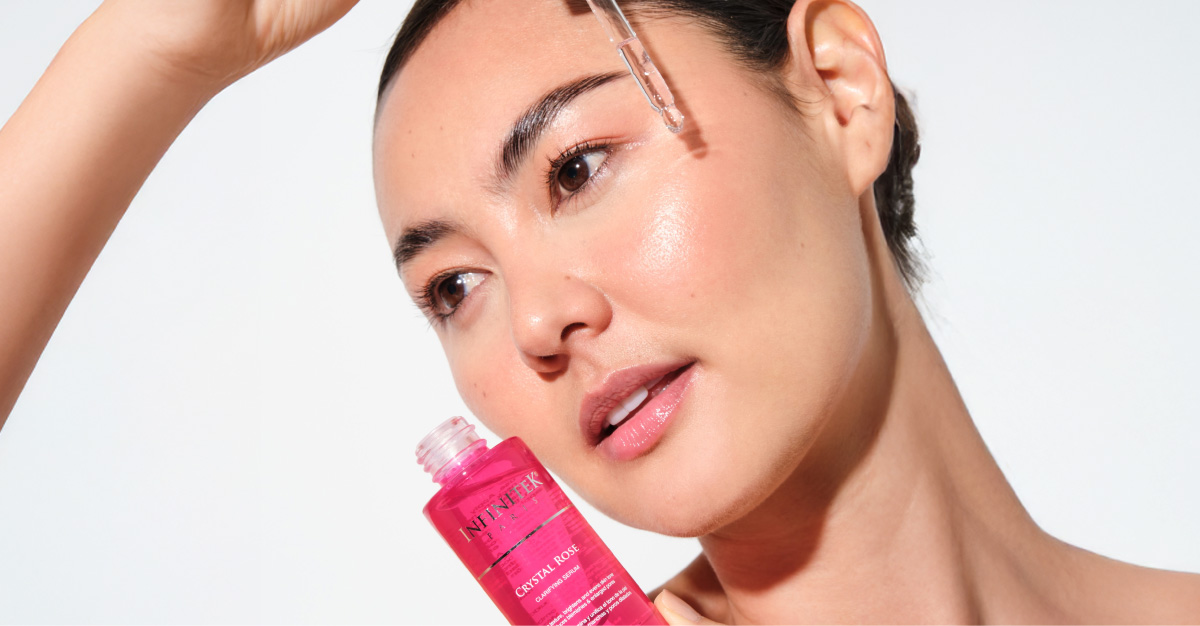
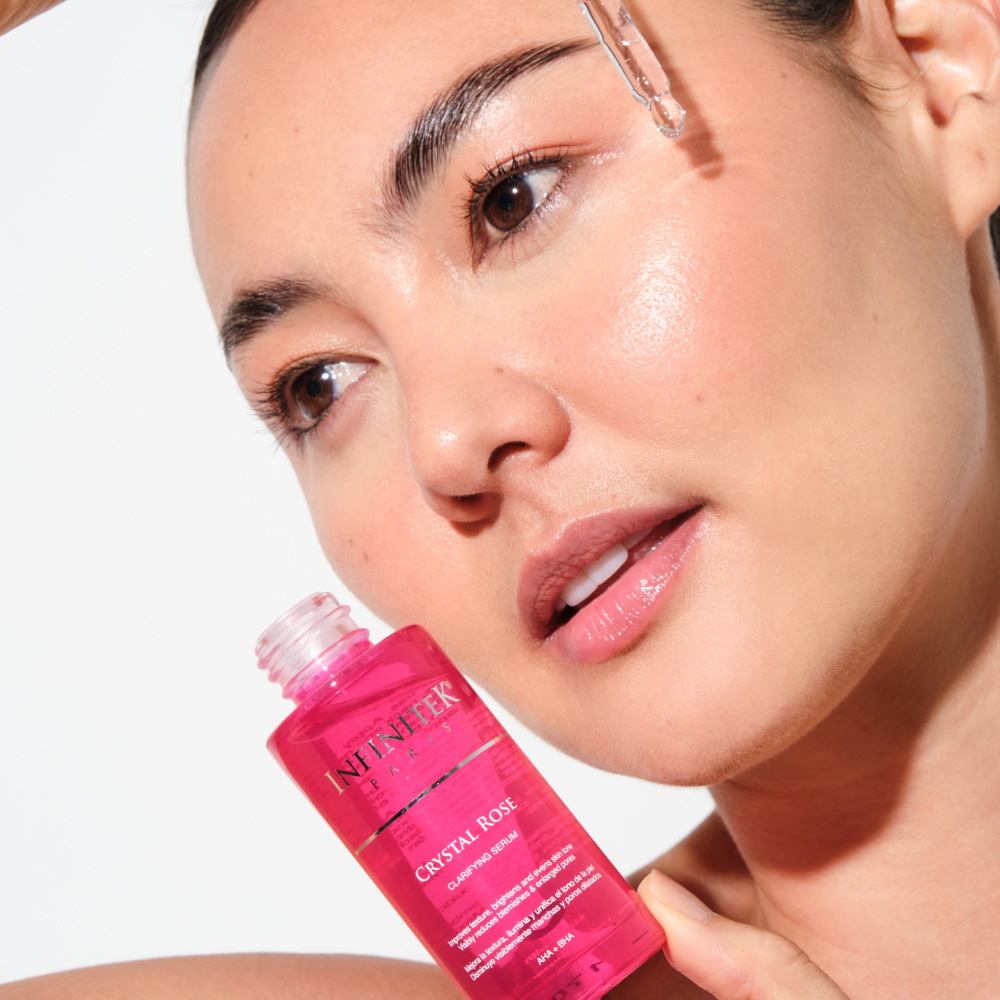
Step 7: Final Hydration
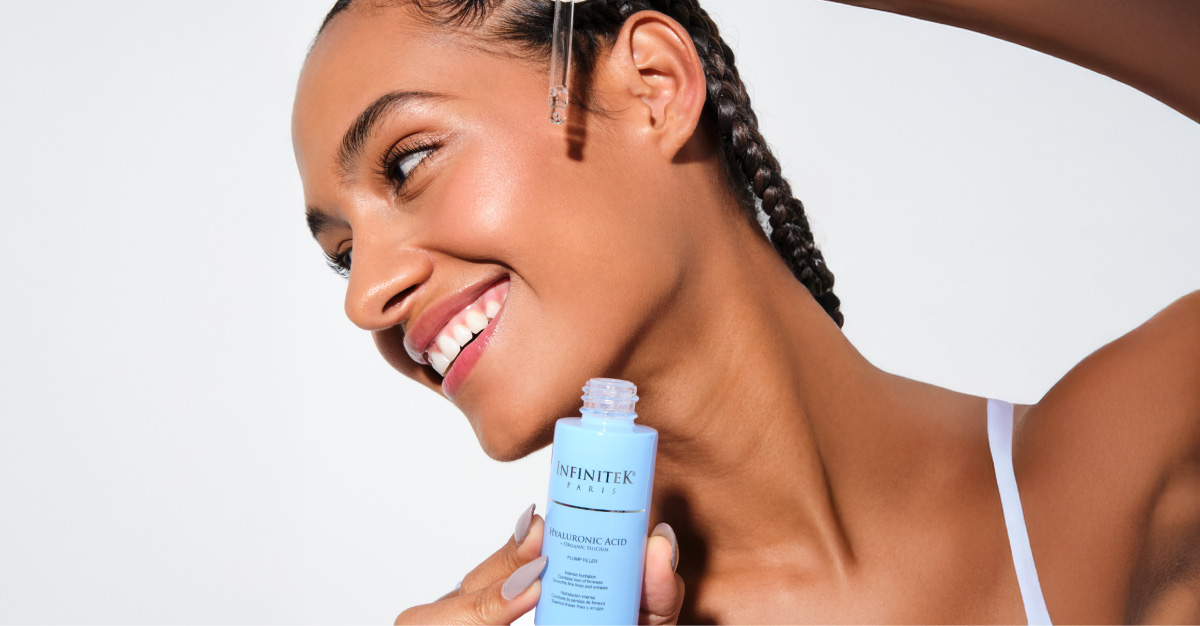
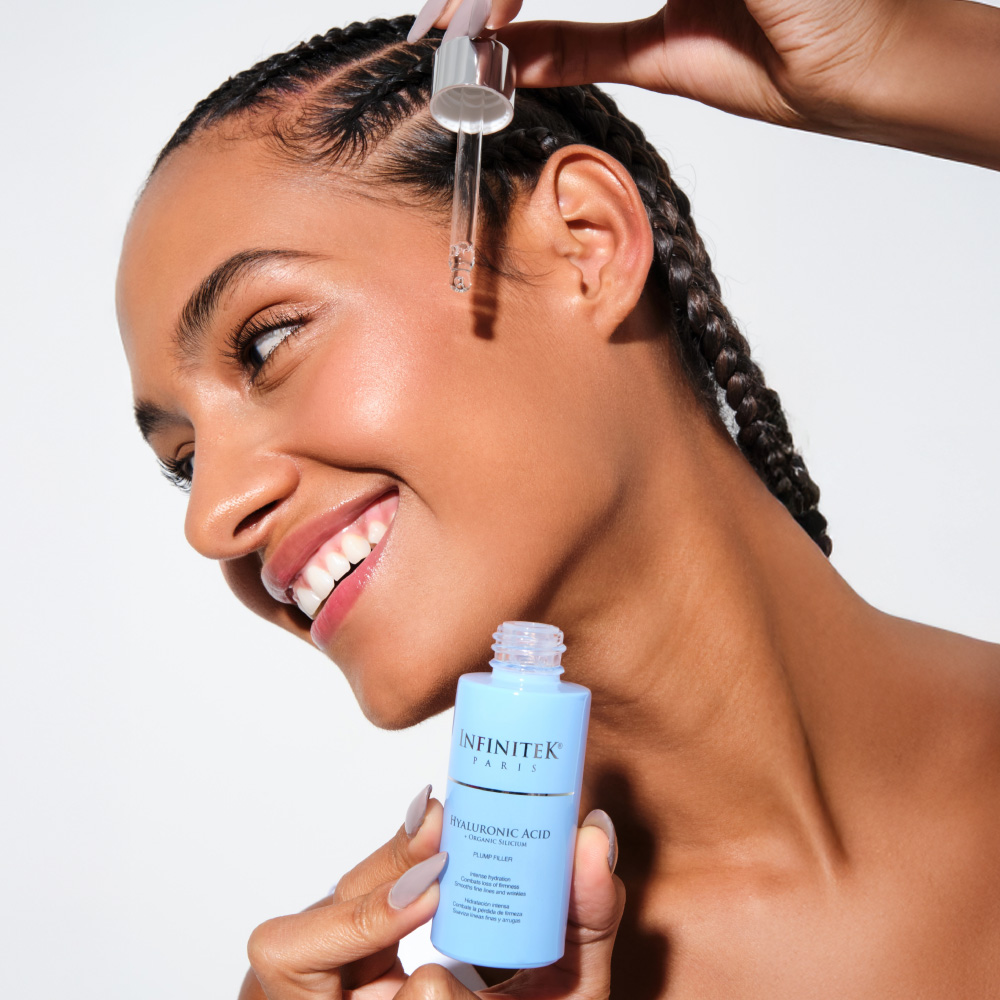
The final step in your at-home facial cleansing routine is to rehydrate the skin and restore balance. After a deep cleanse, apply a serum or hydrating cream.
The Hyaluronic Acid + Organic Silicon Serum by Infinitek Paris is perfect for all skin types – it deeply hydrates and fights signs of aging.
Customize Your Facial Cleansing Routine by Skin Type
It’s important to adjust each step based on your skin’s specific needs. For oily skin, focus on products that regulate oil and reduce shine.
For dry skin, go for hydrating and nourishing products that won’t dehydrate your face.
For acne-prone or blackhead-prone skin, include ingredients like salicylic acid or retinol (a derivative of vitamin A) to help prevent breakouts.
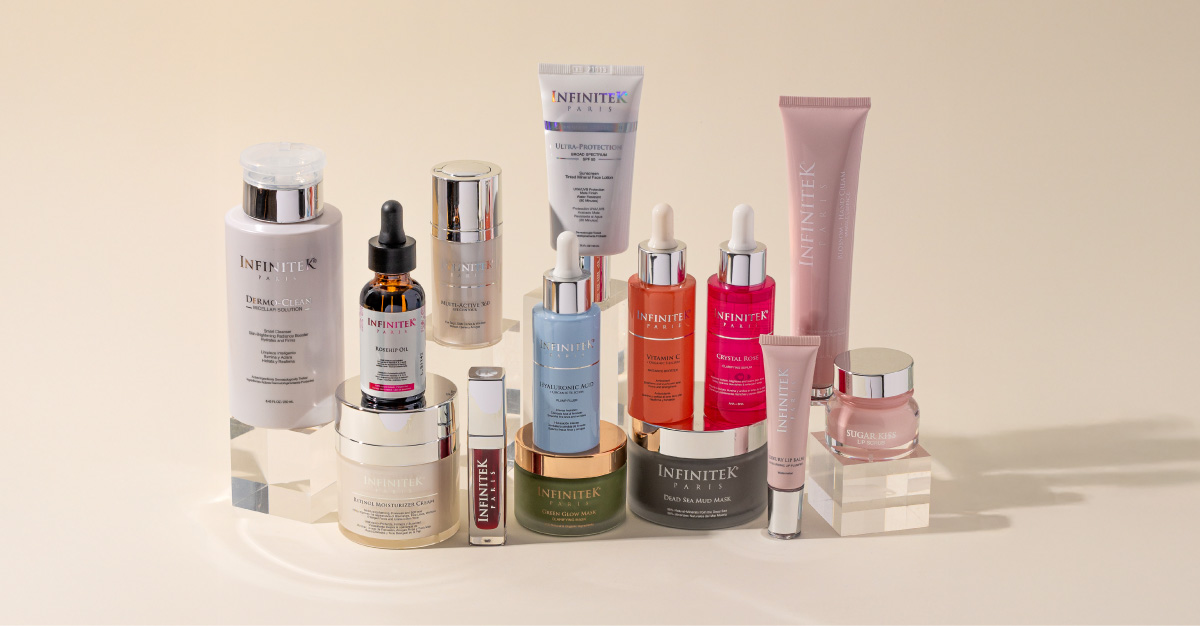
Infinitek Paris Products for a Complete At-Home Facial Routine
At Infinitek Paris, we offer a wide range of skincare products to support your facial cleansing ritual. No matter your skin type, our products are formulated with
effective ingredients to help you achieve radiant, healthy skin.
Visit our Facial Care section to explore our creams, serums, and masks. Incorporate them into your at-home skincare routine and see the results.
Make your skincare routine a daily ritual – and enjoy brighter, more balanced skin!

References:
Dermalegre. (2024). Tips to avoid acne scars. Dermalegre.
https://www.dermalegre.com/consejos-para-evitar-las-cicatrices-de-acne/
Valdés, V. (2025). Retinol: what it is used for and how to use it. Vogue Spain.
https://www.vogue.es/guia-retinol-uso-activo-belleza
Facial Cleansing at Home. A Complete Ritual for Healthy Skin.